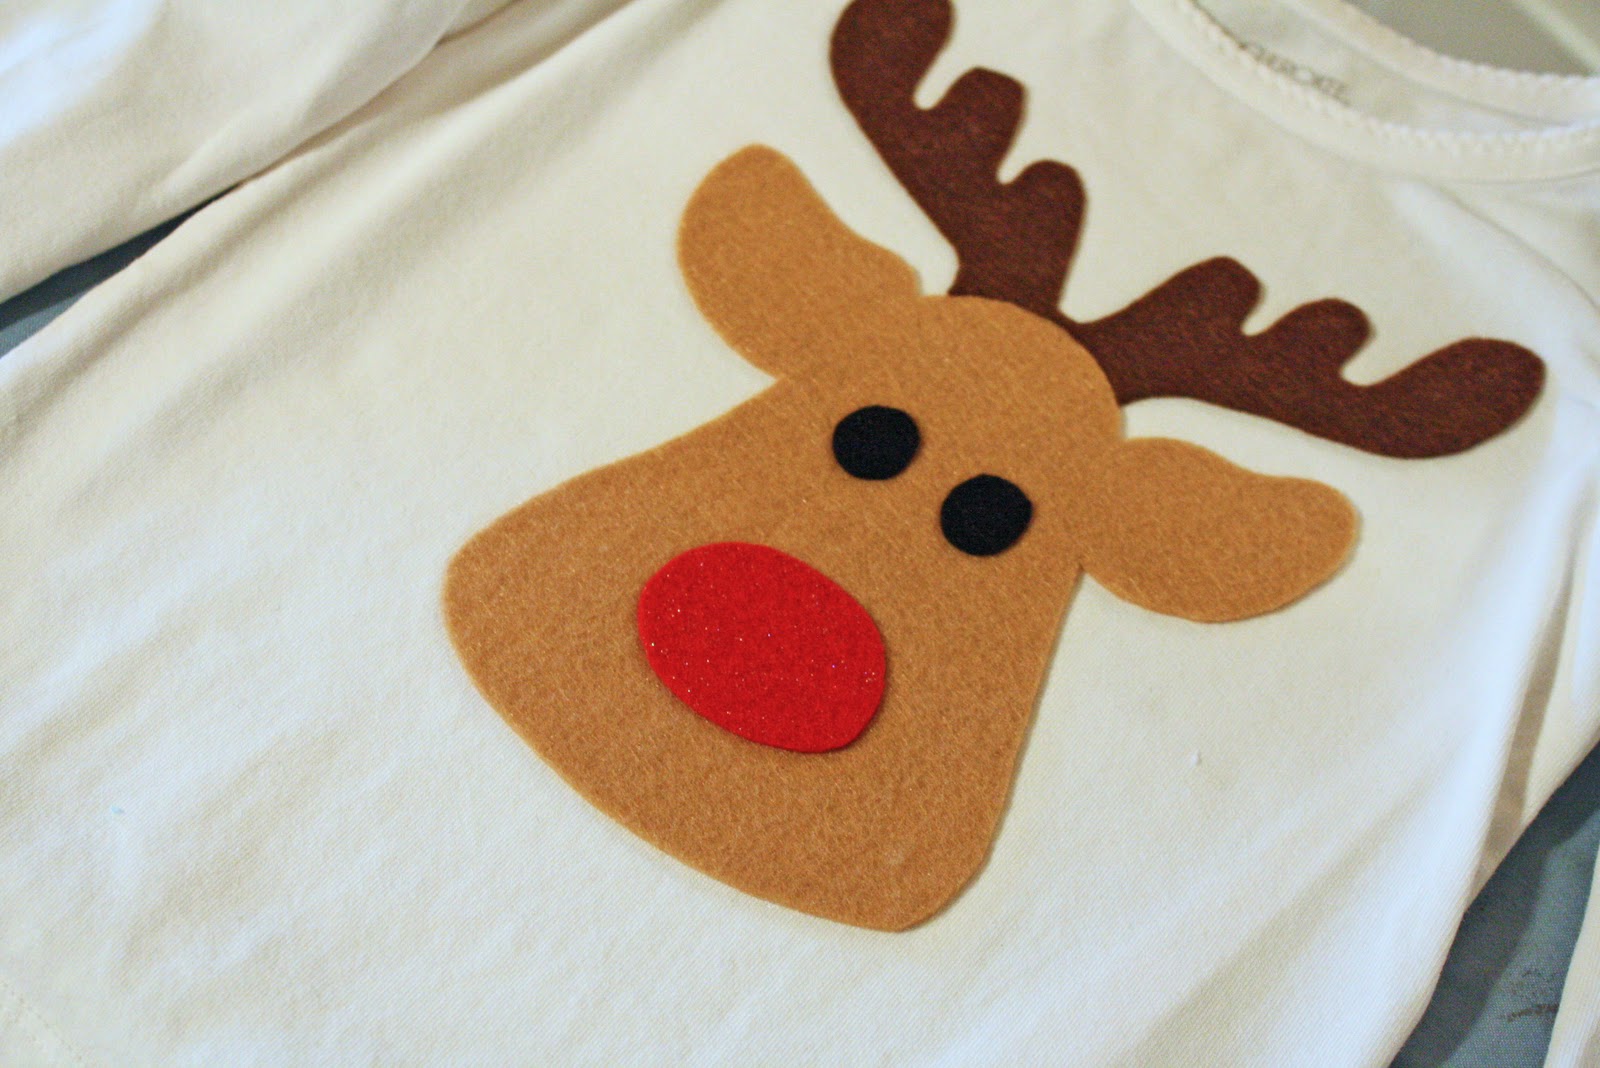
I have been crafting Christmas outfits for several little girls I know and wanted to make sure that my daughter had something cute as well. I am really in love with felt designs right now and wanted to work that in somehow. I went with a simple, yet girly, reindeer idea. It is so simple that I wanted to share it with you!
Oh, and while I made mine a girly reindeer, this would also be super cute for a boy if you added a bowtie!
Materials List-
- Felt in beige, chocolate brown, red and black. I bought the pre-cut squares that are like $0.29 at Joann Fabrics. (The red I bought has glitter in it and is sparkly!)
- Steam-a-Seam paper
- Scissors
- Thread
- Ribbon (optional)
- Fray block for ribbon (optional)
- Reindeer Template- You can download it here. (Etsy crafters-feel free to use this design to sell!)
Step 1. Print the template out and trace onto the steam-a-seam paper following the packaged instructions. Make sure that the pieces are all traced seperately (see picture below).
Step 2. Loosely cut out traced shapes.
Step 3. Following steam-a-seam instructions, remove backing and place the paper onto the felt pieces with the sticky side down.
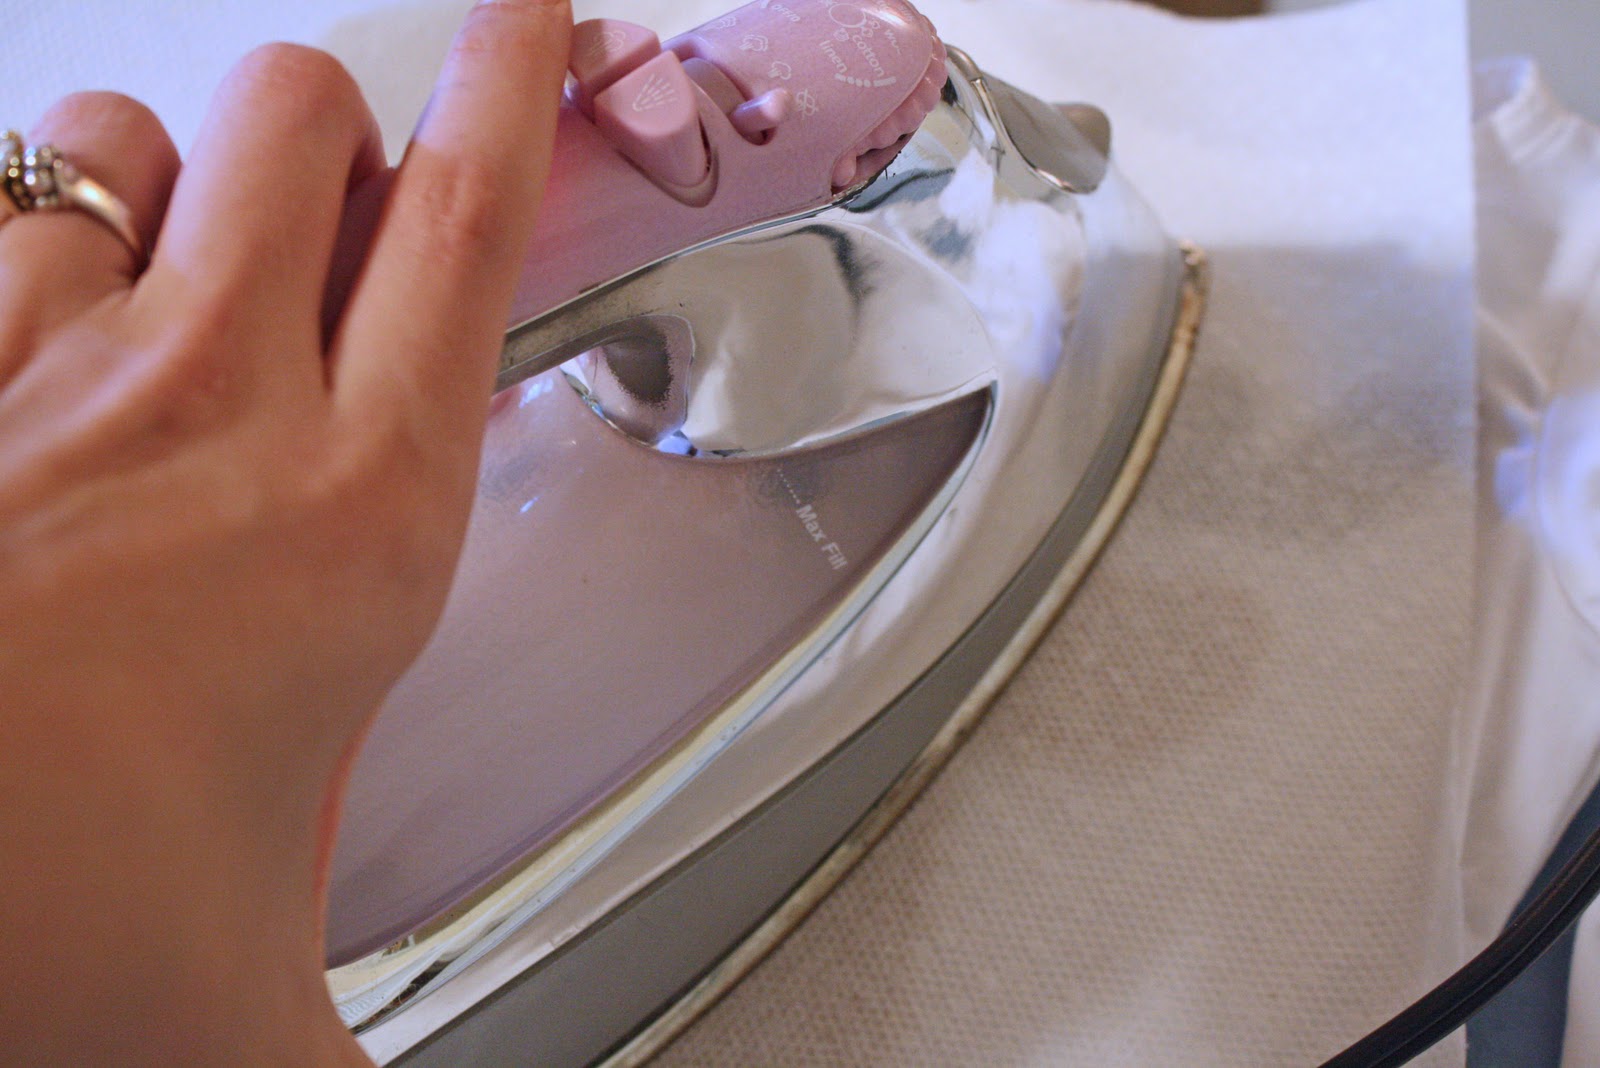
I like to place a paper towel over the paper to prevent pencil from smearing onto my iron.
Step 4. Iron each of the pieces into place.
Step 5. Cut out each of the shapes.
You should now have all of your pieces ready!
Step 6. Peel the paper backing away from each of the reindeer pieces.
Step 7. Layout the pieces of the reindeer onto your shirt.
Step 8. Iron the felt pieces into place on your shirt. Again, I used a paper towel to cover the image before ironing just in case. (I ironed the face and antlers first and then added the eyes and nose. I did this to make sure that nothing shifted while I was ironing).
This is what your shirt should look like after everything is ironed into place.
Step 9. Now it is time to sew the pieces into place. Since felt does not fray, you do not need to use a zig-zag stitch. Instead use a simple straight stitch and sew 1/8" from the edge of the design. There are actually several ways to go about this. You could use thick embroidery thread and hand-sew the pieces on for a unique look. I chose to use my machine but extended the stitch length to twice the normal length. I also use a contrasting thread (bright white) to go around the face and add interest. It would also be cute to do a combination of the two.
Step 10. If you will be adding a girly bow, simply tie your ribbon and treat the ends with fray block (or heat treat if using grosgrain). I used the glue gun and added a dab of hot glue to the ribbon to hold it in place and then I went back and hand stitched it onto the shirt.
Voila! A super cute holiday tee that will make any little one smile.
PS- There are so many variations that can be done with this design. One might be to use funky colored quilting fabrics instead of solid felts...or a combination of both. Have fun!





 Posts
Posts