Carolyn from CM Crafts is our guest author today and she has written a super easy tutorial for creating your own web ad. I am thrilled to be able to share this with you because it is something that I have wanted to learn myself! I hope this is helpful to you all...
So here is how I created my first web ad, for right here on Noodles & Milk! I did this in Photoshop Elements, the simpler version of Photoshop. And let me tell you, I barely know anything when it comes to graphic design and photo editing. This is a very basic ad, but still represents my shop and does the job. So let's get to it!
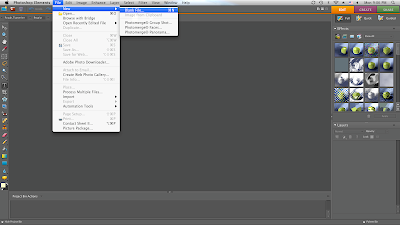
When you open Elements, go to the File tab, click on "New," then "Blank File"
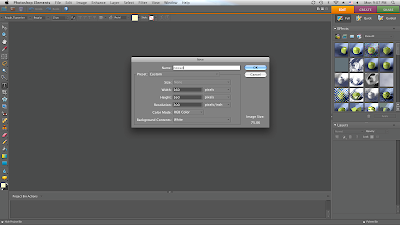
A little window will pop up that lets you choose the size/dimensions of your file. 1. Name your file at the top. 2. Beside the height and width boxes, choose "pixels" from the drop-down menu. A common size ad is 160x160 pixels. So just fill in those numbers for each box, and click ok.
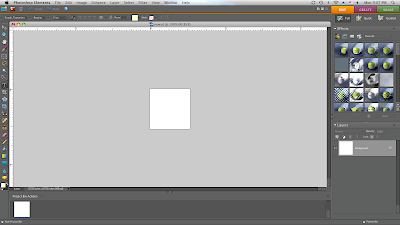
Now your blank file will appear as a little white square.
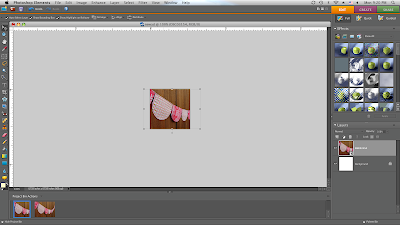
I used a product picture for my ad. If you want to do the same, go to the photo on your computer and drag it into the project bin in Elements. This step looks almost the same as the last, but you can see the bunting picture has been added in the bottom left corner.

Now drag the product photo from the project bin to the white square above. It will look teeny tiny in there. Also make sure the move tool is selected for the next step. This is the top tool in the tool bar on the left.
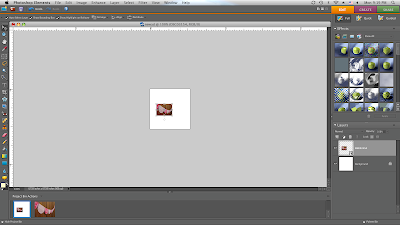
Now you're going to resize the photo to fit in the square. I made mine bigger than it needed to be and placed the photo where I wanted it, so the entire image isn't seen. You can see the outline of the photo outside the square.
If you want to add text, select the text tool and pick out your font, size, and color at the top. Double-click where you want your text to appear and start typing. You can move it around as needed. (If everything looks great so far, skip the next 2 steps. But if you can't actually see the text you just typed, then you have a layering issue. This happens to me often, and I'm guessing it's the order in which I do things, but I have no idea. I just know how to fix it! So continue if you have the same problem)
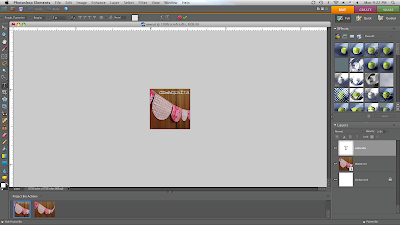
Sometimes your text will get hidden behind the photo layer, and you'll just see the line where it should be. If so, go over to the bottom right corner and make sure the text layer is selected. It will say whatever you just typed, so mine says "cm crafts" here.
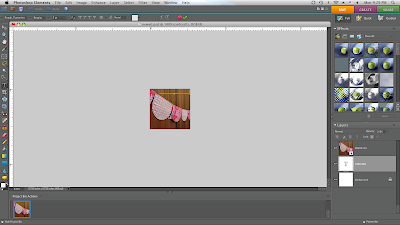
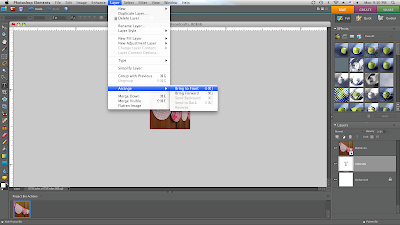
Go up to the "Layer" tab, click on "Arrange," then "Bring to Front." That should fix it!
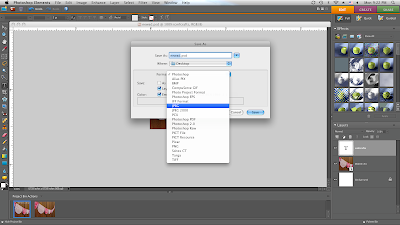
Now it's time to save your file. Go to the File tab, and "Save As." Select "JPEG" from the drop-down menu in the middle.
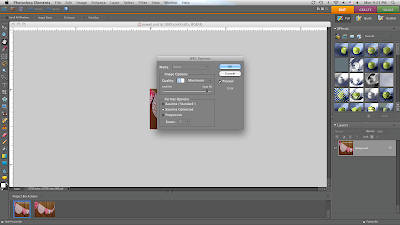
Another window pops up. I always save it in "Maximum" size.
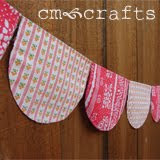
And there you have it! Not too bad, huh? Hopefully this will help some of the graphic-design-challenged people like myself who don't have all the fancy programs to create things with. Thanks for having me on Noodles & Milk!
~ Carolyn
PS: Stay tuned for a giveaway from CM Crafts later this month!






0 comments:
Post a Comment