Showing posts with label tutorial. Show all posts

Wednesday, February 9, 2011

Ruffled Heart Shirt- A tutorial

Finally! A Valentine's Day tutorial. Sorry this is so delayed. I know many of you won't have time to make this before Monday, but just keep in mind that you could do it in any color and even applique something on top of the heart to make it for another ocassion. It truly is so simple and just takes a few minutes from start to finish. Lets get started:


Materials Needed:
-Blank tshirt (I got mine from Target)
-Heart template- download here (I made a 3t with this size. You may want to adjust the size up or down depending on the size you make or the look you are going for)
-Appx 13" off pre-made ruffle (found in the ribbon section of your craft store)
-Lighter or fray block
-Fabric pencil
-Felt
-Scissors
 

 1. Cut ruffle and use lighter or fray block to treat the edges.
2. Pin heart template onto the felt and cut out .


3. Use heart cut out and fabric pencil and trace a heart onto shirt at desired location. 
4. Starting at the tip of the heart, pin ribbon so that the seam of the ribbon aligns with the pencil line of the heart.
5. When you get around to the other side, flip the ribbon back onto itself and pin the two ends together at the tip. (see image below)

6. Sew the ribbon into place. Your stitch does not have to be pretty because the felt will cover it up. The ribbon is kind of thick so make sure you go slowly. I used a walking foot on my machine to help with the thickness.

7. Place your felt heart over the ribbon heart and pin in place. Stitch the felt heart in place. Since felt does not fray, you do not need to use a zig zag to go over the edges. For interest, I widened my stitch length and used a contrasting thread color.

 Voila! So easy!
 
Photobucket

Monday, January 10, 2011

Origami Gift Bag- A guest tutorial from Ragadoodle

Paula from Ragadoodle came up with this precious origami inspired gift bag tutorial to share with us. This bag would be perfect to fill with Valentine's day treats for your family and friends.

Origami Gift Bag


Materials needed:
2 fat quarters
1 yard ribbon or cording


Assembly:
1. Cut fat quarters to 18-inch squares (making the square larger or smaller will change the size of the bag).

2. Placing right sides together, sew around the edge leaving a 3-4” opening for turning. Trim corners.


3. Turn right side out and press.


4. Top stitch close to the edge on all sides, making a nice finished edge and enclosing the opening.


5. Lie Square in a diamond shape on the table. Fold the top corner down; Fold the bottom corner up, over lapping the the top corner you just folded down. You will have folded your square into thirds as illustrated in the Left Diagram.


6. Find the center and mark a line one inch on either side. Stitch on the marked lines. (If you adjusted the size of your bag-beginning square size-adjust these stitching lines accordingly).


7. Fold piece in half with the folded sides toward the inside. Sew up the sides to close the edge as illustrated in the Right Diagram.


8. To make the bag bottom, bring one side seam to the bottom and pin. This will make your corner come to a point. Mark a horizontal line about 1”- 1 ½” from the point. Stitch on this line. Repeat on the other side to create the box bottom of the bag.


9. Turn bag right side out.


10. Fold the triangular flap down so that you can still see a little of the fabric peeking through from underneath. Sew ½ – ¾” from the folded edge all around the top of the bag to form a casing.


11. Thread ribbon or cording through the casing. You can leave the ribbon in one piece and tie the bag on one side, or you can cut the ribbon in half and thread one piece thru one side, and the other piece thru the other side. Knot ends on both sides.


12. Fill bag with gift! :)

Cute, huh?

Want to know something really exciting? Paula and her husband have started the process to adopt a baby! All the proceeds from her etsy shop are going to their adoption fund. So, go check out her shop and pick out something precious and feel a little extra pride knowing that your purchase is helping her family grow.

Paula also wants to share a coupon code with Noodles & Milk readers...use "GOTMILK10" for 10% off all orders placed by January 31st. Happy Shopping!

You can follow Ragadoodle on Facebook here.


Photobucket

Wednesday, December 15, 2010

Funky Flower Pin: A tutorial review

Back in October, when I was preparing for this, I started thinking about what I was going to wear. I wanted something professional, but yet fun and crafty. I decided to wear a simple black sweater and go with funky accessories. I stumbled upon this simple tutorial from Blue Cricket Design and decided to give it a whirl. It was so easy! I used it to create this adorable pin!

Seriously, every time I wear it, I get tons of compliments. I decided that my super-chic grandmother would like one. So, I whipped one together for her to give her at Christmas. While I was working through her pin, I made some notes of things that I did slightly different.

For starters, I didn't have any kind of cookie cutters that would work for the template like the tutorial called for, so I made my own. You can download the template I used here.

You can really use as many different fabrics as you want. For this particular pin, I did every petal in a different fabric. To make it easier, I cut four layers of fabric at a time.


Here are all the petals laid out. I did the pink ones as the largest size, the brown as the medium size and the blue as the smallest.

Another thing I did for simplicity was to sew the button onto the small circle before hot gluing the circle over the center of the pin.

 Here is the finished product. Pretty, huh?
Seriously, this tutorial is so easy. It is a great pin and would also be stellar as a bow or headband. These are so fast to make and would be great stocking stuffers. I hope you enjoy this tutorial. If you do, leave Blue Cricket a comment telling them that you do!

Photobucket

Wednesday, November 17, 2010

Too Cute Reindeer Shirt- A tutorial

I have been crafting Christmas outfits for several little girls I know and wanted to make sure that my daughter had something cute as well. I am really in love with felt designs right now and wanted to work that in somehow. I went with a simple, yet girly, reindeer idea. It is so simple that I wanted to share it with you!

Oh, and while I made mine a girly reindeer, this would also be super cute for a boy if you added a bowtie!
Materials List-

  • Felt in beige, chocolate brown, red and black. I bought the pre-cut squares that are like $0.29 at Joann Fabrics. (The red I bought has glitter in it and is sparkly!)
  • Steam-a-Seam paper
  • Scissors
  • Thread
  • Ribbon (optional)
  • Fray block for ribbon (optional)
  • Reindeer Template- You can download it here. (Etsy crafters-feel free to use this design to sell!)
Step 1. Print the template out and trace onto the steam-a-seam paper following the packaged instructions. Make sure that the pieces are all traced seperately (see picture below).

Step 2. Loosely cut out traced shapes.
Step 3. Following steam-a-seam instructions, remove backing and place the paper onto the felt pieces with the sticky side down.
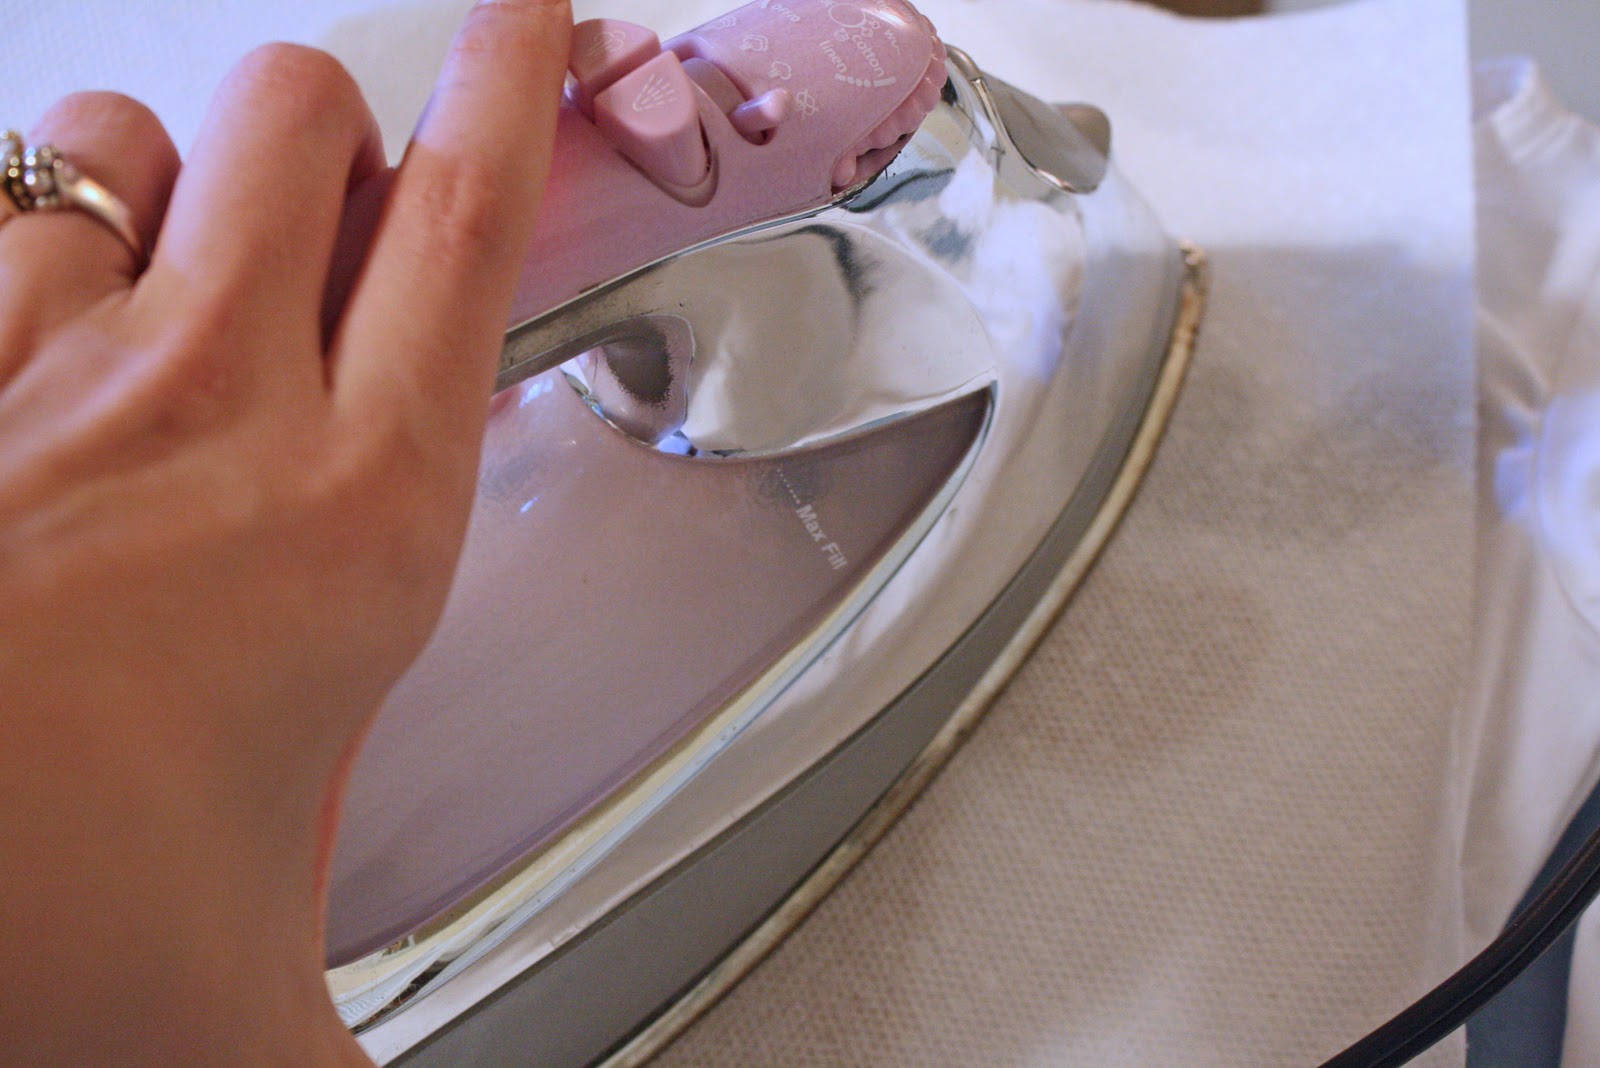
I like to place a paper towel over the paper to prevent pencil from smearing onto my iron.
Step 4. Iron each of the pieces into place.
Step 5. Cut out each of the shapes.
You should now have all of your pieces ready!
Step 6. Peel the paper backing away from each of the reindeer pieces.
Step 7. Layout the pieces of the reindeer onto your shirt.
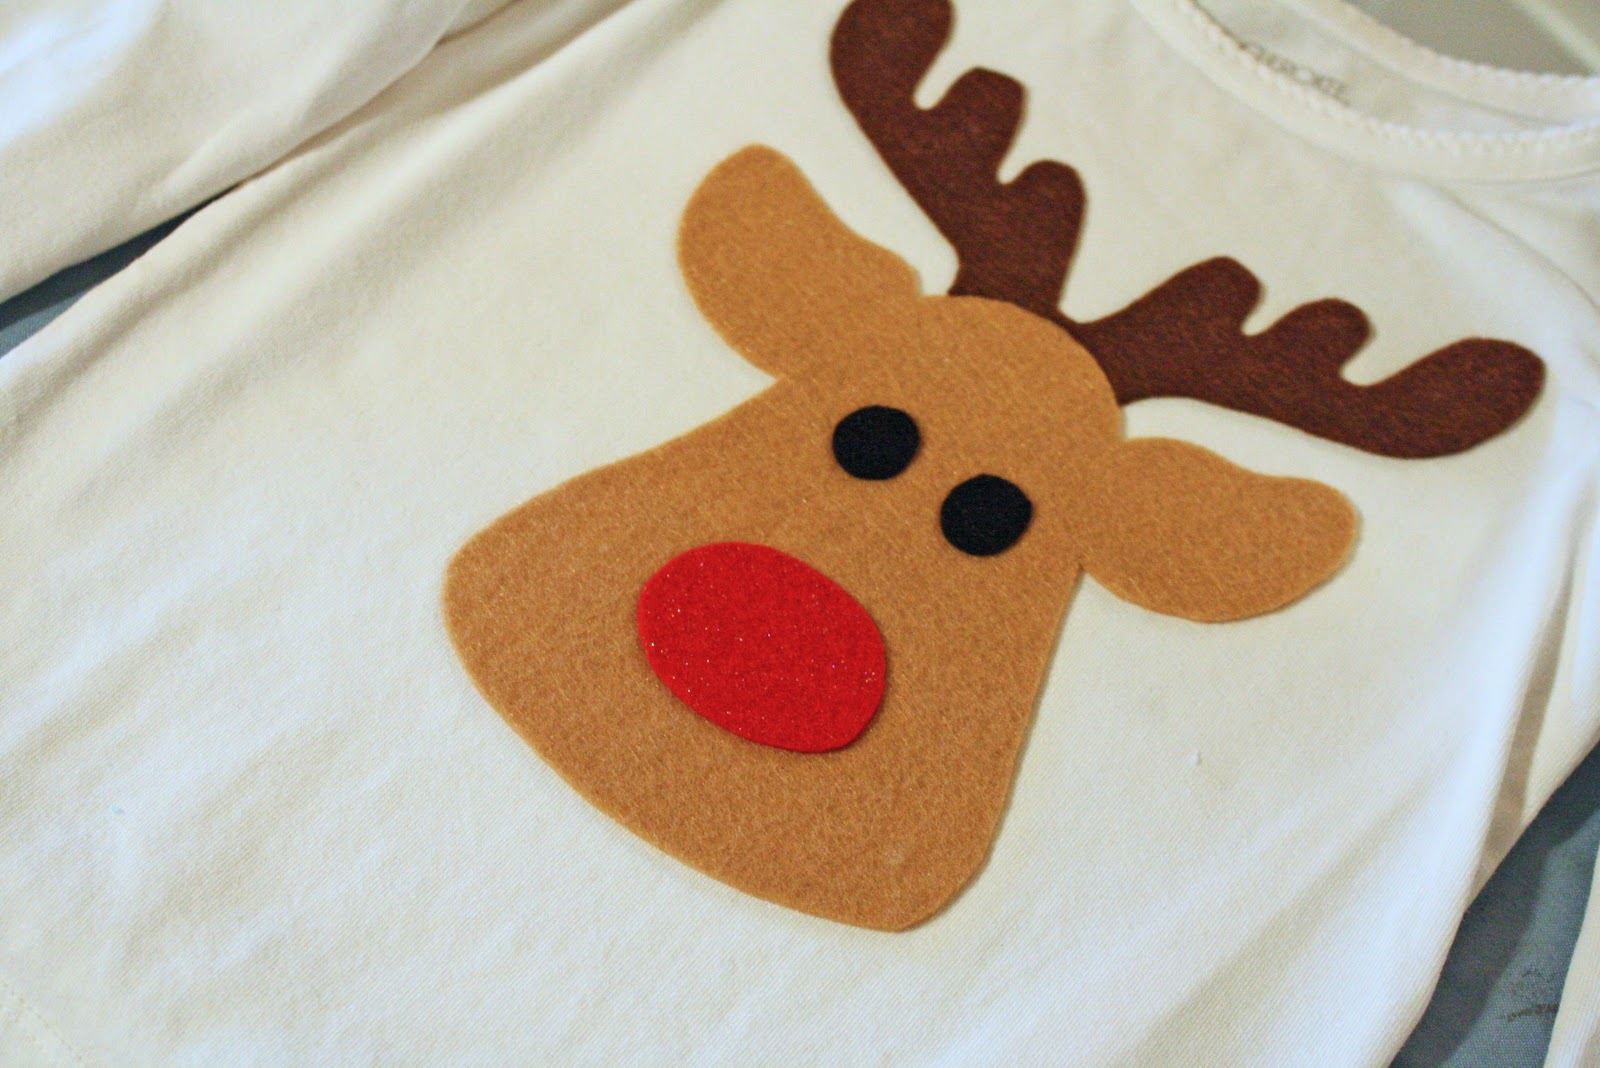
Step 8. Iron the felt pieces into place on your shirt. Again, I used a paper towel to cover the image before ironing just in case. (I ironed the face and antlers first and then added the eyes and nose. I did this to make sure that nothing shifted while I was ironing).

This is what your shirt should look like after everything is ironed into place.
Step 9. Now it is time to sew the pieces into place. Since felt does not fray, you do not need to use a zig-zag stitch. Instead use a simple straight stitch and sew 1/8" from the edge of the design. There are actually several ways to go about this. You could use thick embroidery thread and hand-sew the pieces on for a unique look. I chose to use my machine but extended the stitch length to twice the normal length. I also use a contrasting thread (bright white) to go around the face and add interest. It would also be cute to do a combination of the two.

Step 10. If you will be adding a girly bow, simply tie your ribbon and treat the ends with fray block (or heat treat if using grosgrain). I used the glue gun and added a dab of hot glue to the ribbon to hold it in place and then I went back and hand stitched it onto the shirt.
Voila! A super cute holiday tee that will make any little one smile.

PS- There are so many variations that can be done with this design. One might be to use funky colored quilting fabrics instead of solid felts...or a combination of both. Have fun!

Photobucket

 
Simply Yours Designs Cute Blogger Templates