


My good friend Bethany, from Love September, has written a great tutorial that she wants to share with Noodles & Milk readers. Bethany's shop has been on etsy for 3 years and her shop is super successful. Being the crafty type that she is, her shop offers all kinds of fun things. Bethany's shop is a little bare right now because she is putting her family first for a little while (good for her!). One of the coolest things that is still listed in the shop is her latest venture: fabric wall letters to decorate your home. They are super cute for nurseries and children's rooms. You should head over to her shop to check them out!
Every Season Banner Wreath Tutorial Supplies for wreath and mini banner/bunting:
 Supplies for wreath and mini banner/bunting:
- grapevine wreath
- spray paint (if you want to spray your wreath, I kept mine natural)
- glue gun and extra glue sticks
- fabric scraps of 5 different fabrics at least 8" x 4"
- straight pins
- pinking shears
- pennant flag template (click to download)
- 14" ribbon
- sew in Velcro
- sewing machine
 Supplies for fabric wreath hanger
 - 1/8 yard of coordinating fabric
- sew in Velcro
- matching thread
- Pin the flag template to one of your 8" x 4" fabric scraps.
- Cut two flags out.
- Repeat steps one and two with all 5 of your fabric scraps.
- Now you should have 10 cut triangle flags in total.
- Place each matching flags wrong sides together and pin at each corner.
- Sew, using 1/4" seam allowance around each flag. Do not sew the top.
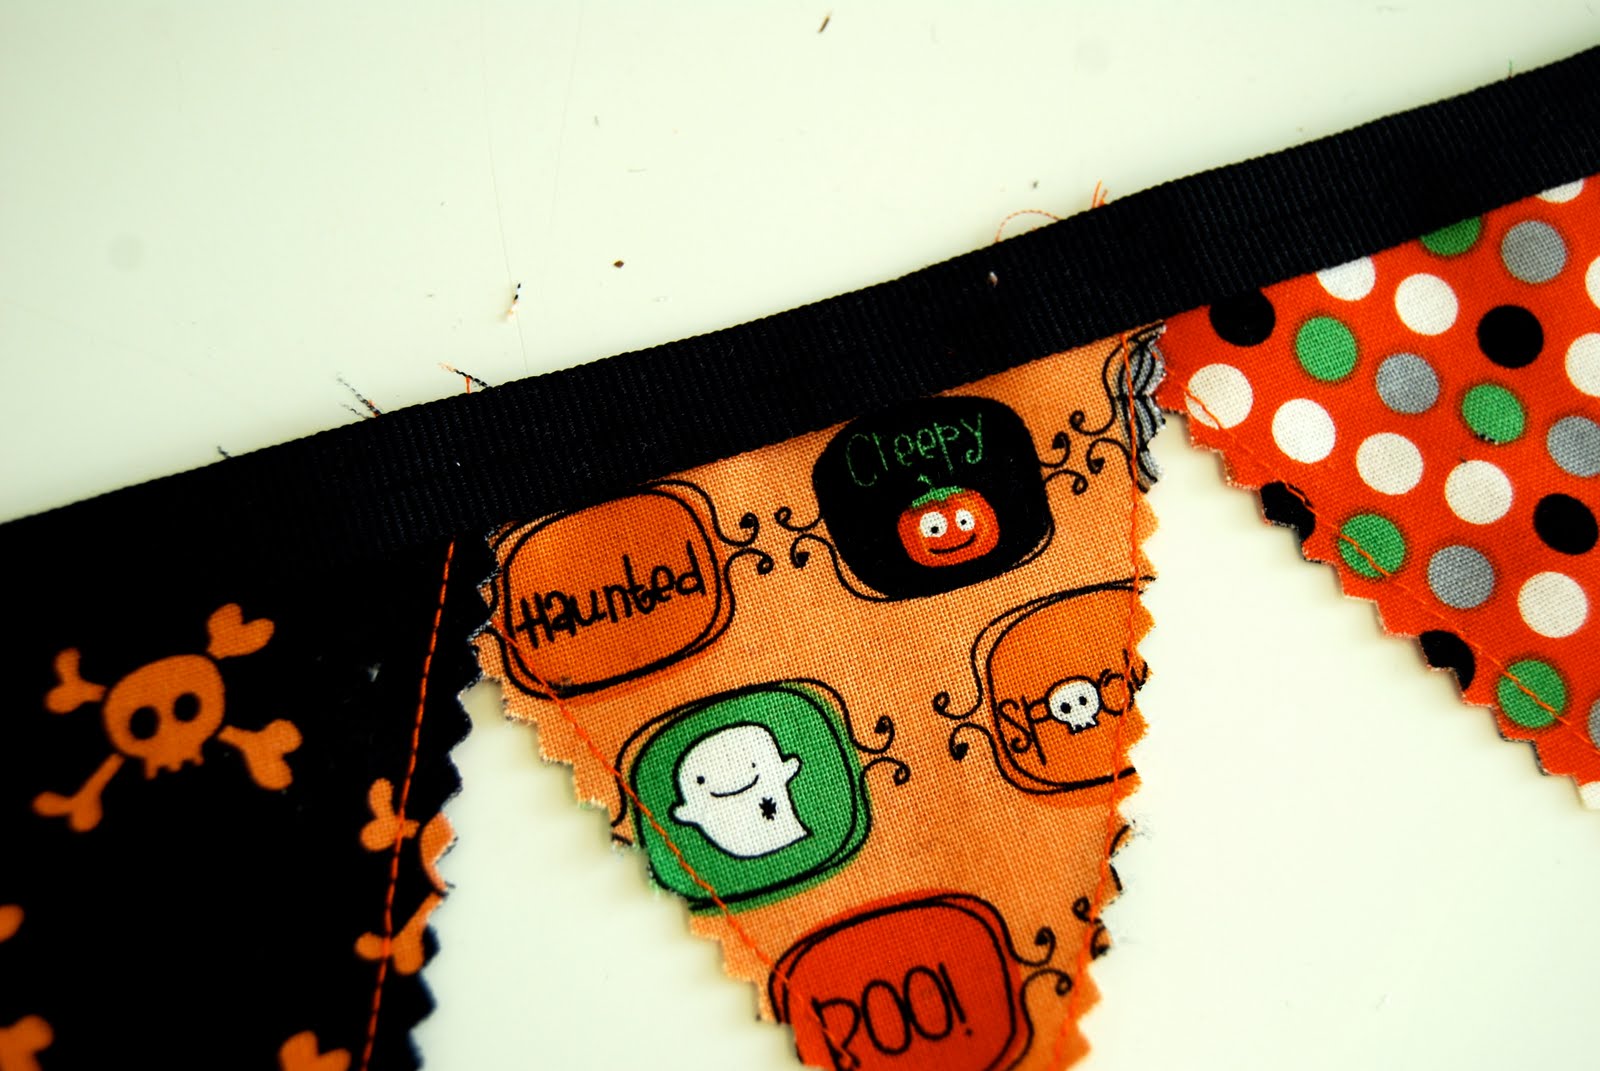
Using your pinking shears, cut around the two sewn sides of the triangle.- Take your ribbon (cut to 14") and pin the pennants you just created to it, leaving about 1/2" ribbon on either end. Make sure that the top of your flags line up with the top edge of the ribbon, without being visible from the other side. You may have to overlap the tops of the flags to make them all fit.
- Sew down the middle of the ribbon, through the pennants and ribbon.
- Cut two pieces of Velcro 1/2" wide.
- Sew one side of the Velcro to each end of the ribbon (on the back side of the banner).
- Position your banner where you want it on your wreath.
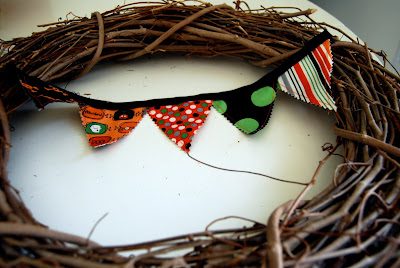
- Using the glue gun, glue the other side of the Velcro directly to the wreath where you want the banner to attach. This makes the banners interchangeable!! Now you can switch the banner for each season!


- Hem all sides of the 1/8 yard of fabric by folding each edge about 1/2" and then 1/2" again. Pin and sew using 1/4" seam allowance.


- Cut 1 piece of Velcro 4 1/2" long. This will allow you to adjust the height of your wreath on the door.
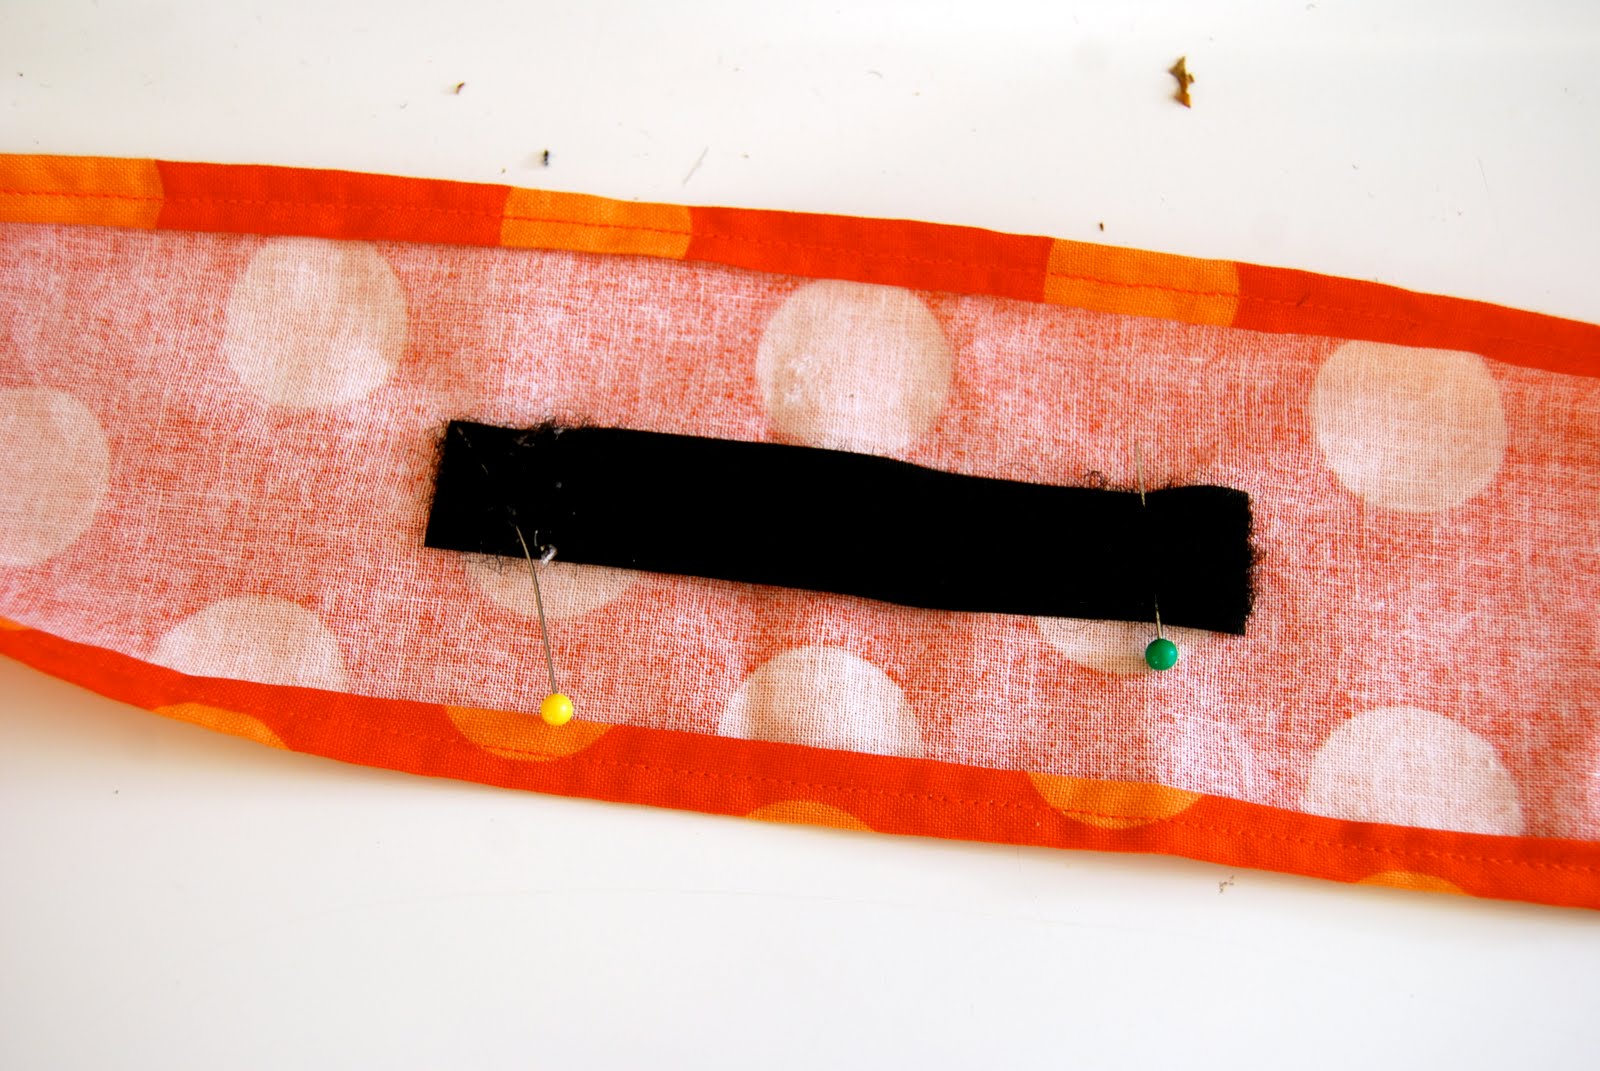
- Measure 1 1/2" from the bottom of the long strip and pin Velcro (in the middle width-wise).
- Sew all four edges of Velcro.
- Measure 14" from bottom of hemmed strip and pin other side of Velcro (pin in the middle width-wise).
- Sew all four edges of Velcro.
- Attach the wreath to the hanger by looping the fabric around the wreath and Velcroing shut.
- Hang your new wreath by a nail on the very top of your door (great for renters!!).
- Cause major wreath envy in your neighborhood!


Seriously, how cute is this wreath? And such an easy tutorial! Thanks, Bethany!


7 comments:
I love this wreath!!
I just saved it, hopefully I can make a Fall version for Thanksgiving!
Your wreath is wonderfull!!!
Thank you for this idea!)
What a great idea...with so many possibilities. I love fabric banners, and was looking for a fun idea my new front door.
I can't wait to use this as an entry wreath, what a great idea! Thanks for sharing it with us!
What a great wreath! I love it! I am going to feature it on my blog tomorrow.
I am so glad I found your blog! I am your newest follower!
This is such a great idea and a well done tutorial! I featured/linked to your post on my Fall Decor and Craft Party
http://candacecreations.blogspot.com/2010/09/fall-decor-tutorial-linky.html
I love this, simple and cute. Glad to have found your blog.
Post a Comment